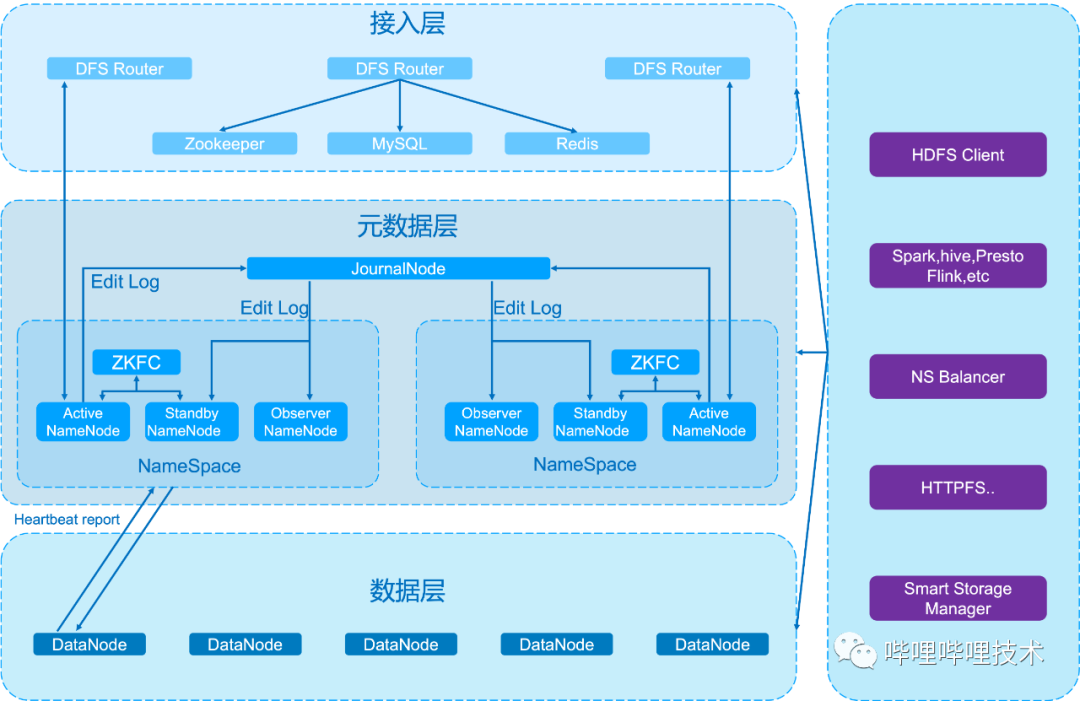
我们可以通过CLI、Client、Web UI等Hive提供的用户接口来和Hive通信,但这三种方式最常用的是CLI;Client 是Hive的客户端,用户连接至 Hive Server。在启动 Client 模式的时候,需要指出Hive Server所在节点,并且在该节点启动 Hive Server。 WUI 是通过浏览器访问 Hive。今天我们来谈谈怎么通过HiveServer来操作Hive。
Hive提供了jdbc驱动,使得我们可以用Java代码来连接Hive并进行一些类关系型数据库的sql语句查询等操作。同关系型数据库一样,我们也需要将Hive的服务打开;在Hive 0.11.0版本之前,只有HiveServer服务可用,你得在程序操作Hive之前,必须在Hive安装的服务器上打开HiveServer服务,如下:
[wyp@localhost /home/q/hive-0.11.0]$ bin/hive --service hiveserver -p 10002
Starting Hive Thrift Server
上面代表你已经成功的在端口为10002(默认的端口是10000)启动了hiveserver服务。这时候,你就可以通过Java代码来连接hiveserver,代码如下:
package com.wyp;
/**
 * User: 过往记忆
 * Blog: /
 * Date: 13-11-27
 * Time: 下午5:52
 */
import java.sql.SQLException;
import java.sql.Connection;
import java.sql.ResultSet;
import java.sql.Statement;
import java.sql.DriverManager;

public class HiveJdbcTest {

    private static String driverName = "org.apache.hadoop.hive.jdbc.HiveDriver";

    public static void main(String[] args) throws SQLException {
        try {
            Class.forName(driverName);
        } catch (ClassNotFoundException e) {
            e.printStackTrace();
            System.exit(1);
        }

        Connection con = DriverManager.getConnection("jdbc:hive://localhost:10002/default", "wyp", "");
        Statement stmt = con.createStatement();
        String tableName = "wyphao";
        stmt.execute("drop table if exists " + tableName);
        stmt.execute("create table " + tableName +  " (key int, value string)");
        System.out.println("Create table success!");
        // show tables
        String sql = "show tables '" + tableName + "'";
        System.out.println("Running: " + sql);
        ResultSet res = stmt.executeQuery(sql);
        if (res.next()) {
            System.out.println(res.getString(1));
        }

        // describe table
        sql = "describe " + tableName;
        System.out.println("Running: " + sql);
        res = stmt.executeQuery(sql);
        while (res.next()) {
            System.out.println(res.getString(1) + "\t" + res.getString(2));
        }


        sql = "select * from " + tableName;
        res = stmt.executeQuery(sql);
        while (res.next()) {
            System.out.println(String.valueOf(res.getInt(1)) + "\t" + res.getString(2));
        }

        sql = "select count(1) from " + tableName;
        System.out.println("Running: " + sql);
        res = stmt.executeQuery(sql);
        while (res.next()) {
            System.out.println(res.getString(1));
        }
    }
}
编译上面的代码,之后就可以运行(我是在集成开发环境下面运行这个程序的),结果如下:
Create table success!
Running: show tables 'wyphao'
wyphao
Running: describe wyphao
key                     int
value                   string
Running: select count(1) from wyphao
0

Process finished with exit code 0
/home/wyp/lib/(这个根据你自己的情况弄)中,同时加入到运行的环境变量,脚本如下:
#!/bin/bash
HADOOP_HOME=/home/q/hadoop-2.2.0
HIVE_HOME=/home/q/hive-0.11.0-bin

CLASSPATH=$CLASSPATH:

for i in /home/wyp/lib/*.jar ; do
    CLASSPATH=$CLASSPATH:$i
done

echo $CLASSPATH
/home/q/java/jdk1.6.0_20/bin/java -cp  $CLASSPATH:/export1/tmp/iteblog/OutputText.jar  com.wyp.HiveJdbcTest
上面是用Java连接HiveServer,而HiveServer本身存在很多问题(比如:安全性、并发性等);针对这些问题,Hive0.11.0版本提供了一个全新的服务:HiveServer2,这个很好的解决HiveServer存在的安全性、并发性等问题。这个服务启动程序在 ${HIVE_HOME}/bin/hiveserver2 里面,你可以通过下面的方式来启动HiveServer2服务:
$HIVE_HOME/bin/hiveserver2
也可以通过下面的方式启动HiveServer2
$HIVE_HOME/bin/hive --service hiveserver2
两种方式效果都一样的。但是以前的程序需要修改两个地方,如下所示:
private static String driverName = "org.apache.hadoop.hive.jdbc.HiveDriver";
改为
private static String driverName = "org.apache.hive.jdbc.HiveDriver";


Connection con = DriverManager.getConnection("jdbc:hive://localhost:10002/default", "wyp", "");
改为
Connection con = DriverManager.getConnection("jdbc:hive2://localhost:10002/default", "wyp", "");
其他的不变就可以了。
hadoop-2.2.0/share/hadoop/common/hadoop-common-2.2.0.jar
$HIVE_HOME/lib/hive-exec-0.11.0.jar
$HIVE_HOME/lib/hive-jdbc-0.11.0.jar
$HIVE_HOME/lib/hive-metastore-0.11.0.jar
$HIVE_HOME/lib/hive-service-0.11.0.jar
$HIVE_HOME/lib/libfb303-0.9.0.jar
$HIVE_HOME/lib/commons-logging-1.0.4.jar
$HIVE_HOME/lib/slf4j-api-1.6.1.jar
如果你是用Maven,加入以下依赖
<dependency>
        <groupId>org.apache.hive</groupId>
        <artifactId>hive-jdbc</artifactId>
        <version>0.11.0</version>
</dependency>

<dependency>
        <groupId>org.apache.hadoop</groupId>
        <artifactId>hadoop-common</artifactId>
        <version>2.2.0</version>
</dependency>
原创文章版权归过往记忆大数据(过往记忆)所有,未经许可不得转载。
本文链接: 【Hive:用Java代码通过JDBC连接Hiveserver】(https://www.iteblog.com/archives/846.html)


谢谢,写的很详细
常用工具里Linux下载地址的二级菜单点不上, 位置很独特。
网站很棒! 😎
谢谢提醒,正在拼命修复中。。
哈哈哈哈
请问在Connection con = DriverManager.getConnection("jdbc:hive2://localhost:10002/default", "wyp", "");
localhost改为自己电脑的真实IP或者服务器的真实IP为什么不行?十分不解?
自己玩的时候连接的是虚拟机,localhost当然可以改成对应虚拟机的IP地址